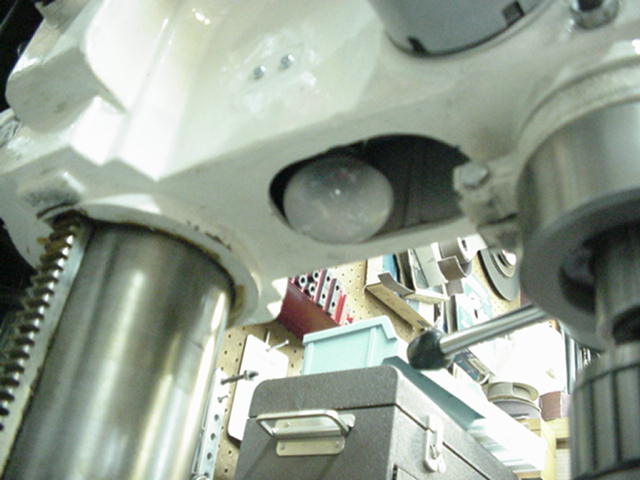
MKC TOOLSMill LightingI've struggled trying to find adequate mill lighting that did not constantly get in the way and didn't cost me $100.00. The original goose neck that came with the machine was quickly removed. I tried several options and finally added a light inside the headstock. I attached a ceramic socket to a little sheet metal bracket and used mounting holes from the original lamp to hold it inside the headstock. The power is taken off the mill on/off switch and the bulb is a 40 watt flood reflector type. That was nice but I needed front lighting as well. 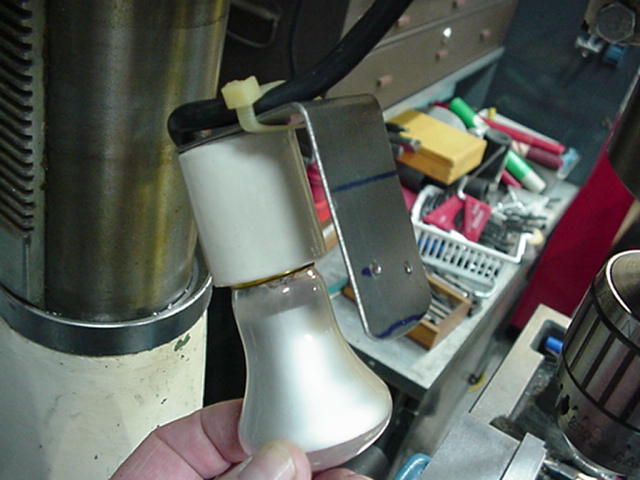
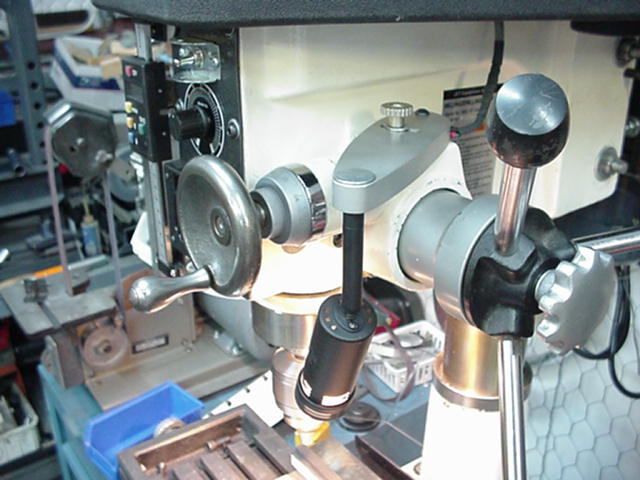
I mulled over ideas for some time and then found this nice little 35 watt track light at Home Depot for 11.00. It is a quartz lamp with UV filter and the size and shape looked like it had potential. The rod is about 3" long and the head swivels 330° and tilts up to 90° of the axis. After removing the track mount from the lamp it had a threaded mounting stud with flats which was nice for mounting. The flat on top of the fine down feed casting looked like a good mounting surface so I started there in designing the mounting. 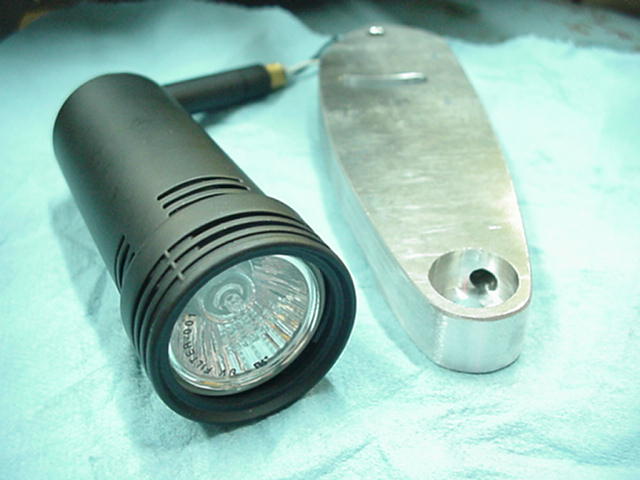
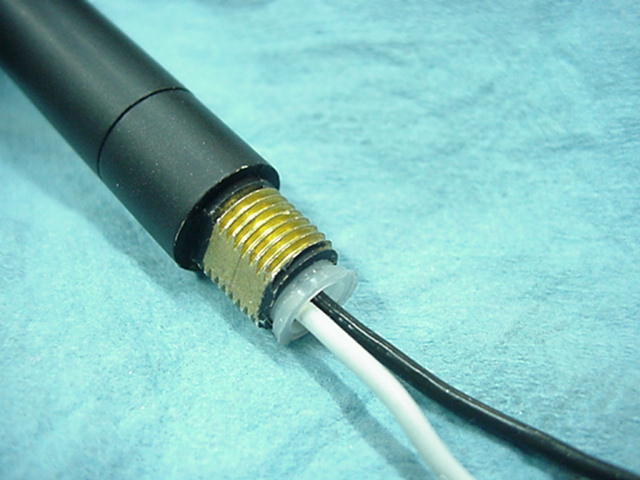
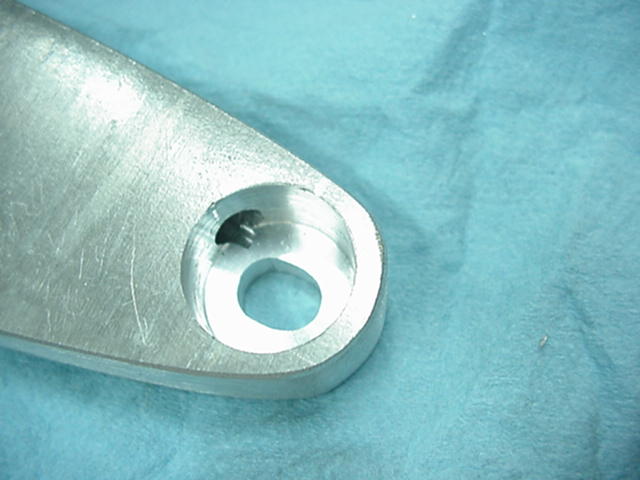
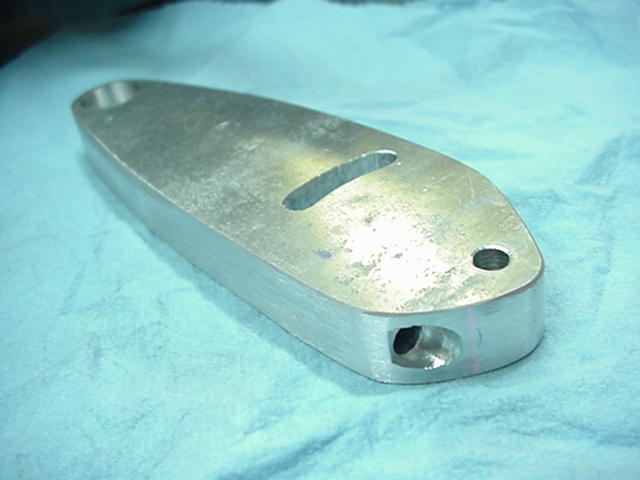
I started with a piece of 2" x 5/8" aluminum bar x 6" long. I put a 3/4" counter bore in the right front corner of the bar and milled a slot in the center of it for the stud. On the opposite corner in the rear I drilled a 1/4" hole for a cap screw swivel mount. From the right rear corner I drilled a 1/4" hole the length of the bar into the counter bore for the wiring. It was drilled off center to leave a little more room for the planned curved slot for the lateral adjustment knob. A larger wiring hole would have been much easier to work with since I had to splice the wiring to the lamp pigtails. 
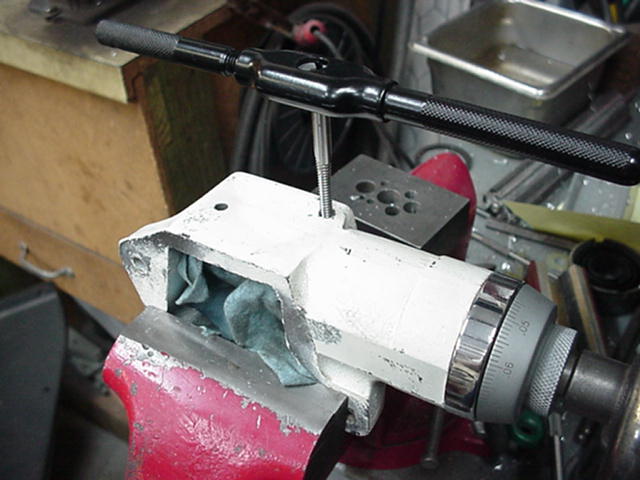
Next the lateral adjustment slot was milled in a 1.75" radius off the 1/4" swivel mounting hole. It starts 1/4" from the edge of the bar and is 1" long. The bar was placed in position to mark the holes in the downfeed casting. The casting was removed and the holes drilled and tapped for 1/4 x 20 tpi. A 1.5" 1/4" x 20 stud was installed in the front hole with LocTite blue and a 1/4" button head cap screw used as the rear mount, also with Loc Tite to hold it so the bar could move laterally but not be too loose. I also relieved a portion of the bottom of the bar to clear the round portion of the downfeed casting which is a little higher than the flat. ----While I had the casting off I also elongated the mounting holes and counter bore of the casting so I could adjust the backlash of the fine downfeed gears. I reduced it from over 1/2 a round to less than .010". You can see in the pic above that it is about 1/8" below the original position.---- 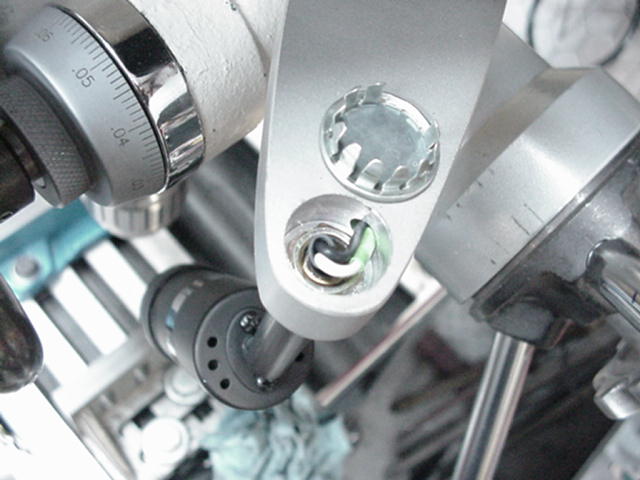
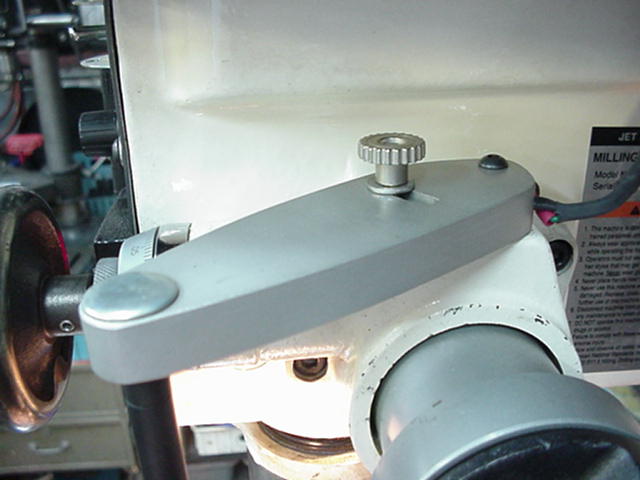
The finished shape of the bar was derived by simply removing the unneeded material after the milling was completed. The bar was bead blasted and sprayed with clear coat acrylic. The wiring was run through a hole in the belt cover into the headstock and wired to the power switch along with the in-headstock light. I clipped of two fingers off the hole plug to clear the wiring in the counter bore. The finished product turned out really nice and I have been using it for about a month. I am well pleased with how it looks and functions. 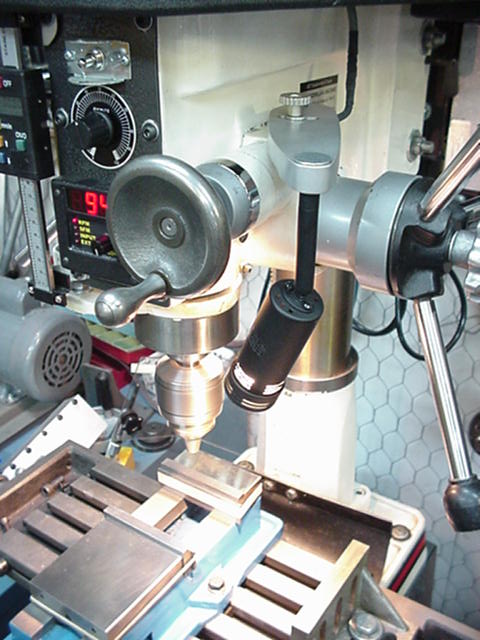
Contact by Email skip@mkctools.com Or Call 817-319-2297 --- MKC Tools Home |